Introduction
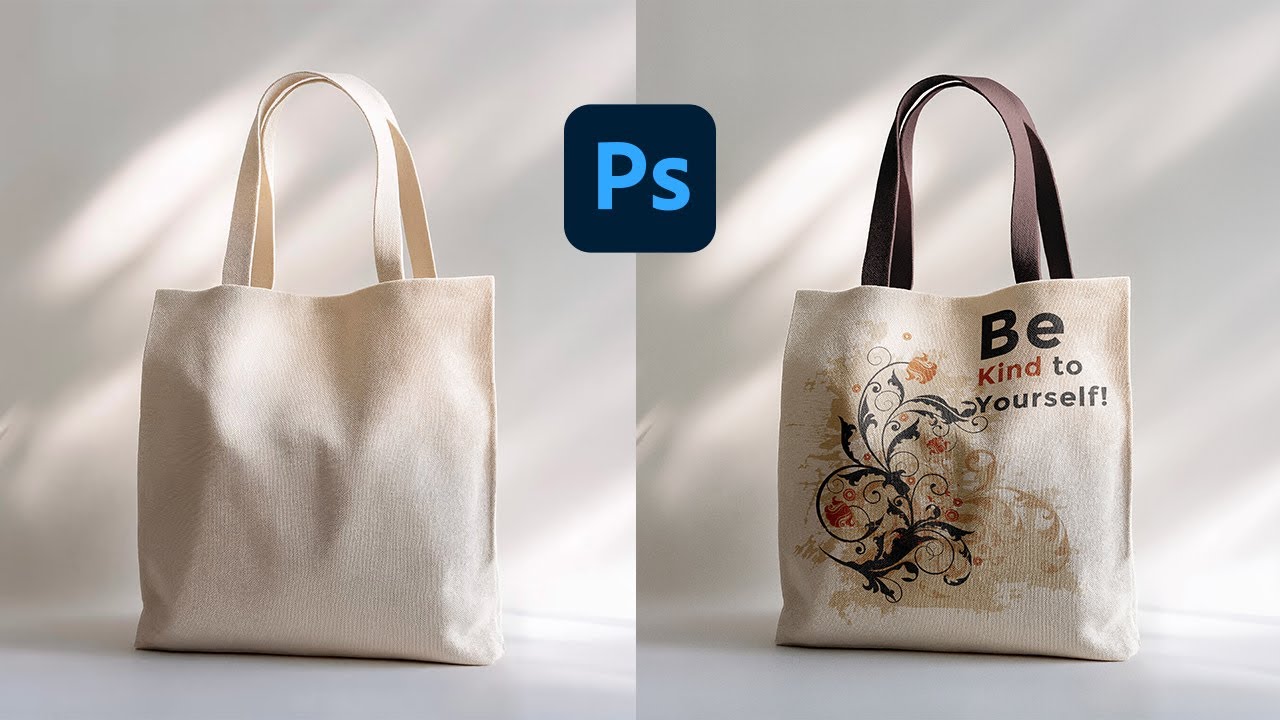
Custom tote bags are a practical project because the end product is functional and visible in everyday use. A simple design can work well for a small event, a gift, or a short-run merch idea.
This tutorial is intended for readers who want a clean tote design without learning advanced design software. The workflow prioritizes the choices that tend to cause problems later: printable area, seam and handle placement, and legibility on textured fabric.
Tools in the “tote bag mock up generator” category tend to differ in how they handle product-specific templates, how clearly they show safe zones, and how reliably they export files that printers accept. For totes, small placement shifts matter because handles, stitching, and folds can hide details.
Adobe Express is an accessible place to begin because it supports a template-first workflow that helps establish size and layout early, so the rest of the process is mainly refinement and file prep.
STEP-BY-STEP HOW-TO GUIDE for Using Tote Bag Mock Up Generator
Step 1: Start with a tote template and define the design canvas
Goal
Set up the correct proportions so the artwork matches common tote printing areas.
How to do it
- Decide whether you’re designing front only or front and back (and keep versions separate).
- If you’re using Adobe Express’ tote bag design template, choose a layout style (text-only, icon + text, photo-based, or pattern) before adjusting details.
- Create a working filename that includes side and size (example: “Tote_Front_v1”).
- Keep a notes section for printer requirements (print area size, safe zones, file format).
What to watch for
- “Tote size” and “print area size” are not the same; the printable panel is usually smaller than the bag.
- Handles and seams can cover top-edge content.
- A centered design on-screen can look slightly off once the bag creases.
Tool notes
- Adobe Express is useful for starting quickly from a tote-oriented template and iterating layout.
- If a printer provides an exact PDF template, Adobe Acrobat can help confirm the template’s page size and view it at 100% scale.
Step 2: Confirm tote specifications and printable area constraints
Goal
Match the design to the physical tote and printing method so nothing important gets lost.
How to do it
- Identify tote type and fabric (canvas, cotton, recycled blends), since texture affects sharpness.
- Confirm the print method (screen print, DTG, heat transfer), which affects fine lines and gradients.
- Ask for the printable area dimensions and any “no-print” zones near seams or the handle base.
- Decide the placement target: centered on the panel, higher/lower, or aligned to a pocket (if present).
- Note any constraints: minimum line thickness, minimum font size, and allowed ink coverage.
What to watch for
- Heavy ink coverage can feel stiff on some fabrics.
- Very thin lines may break up on textured canvas.
- Pocket seams and bag folds can shift the apparent center.
Tool notes
- Print providers such as Printful or Printify often publish tote-specific print area specs that can be used as constraints.
- A simple spec sheet in Google Docs or Notion can keep dimensions and placement notes organized.
Step 3: Build a simple layout that reads at arm’s length
Goal
Create a design that stays clear when the tote is in motion and viewed from a few feet away.
How to do it
- Keep the main message short and use large, clear type for the primary line.
- Limit fonts to 1–2 styles and keep decorative type for short headlines only.
- Use a strong contrast between text and background (especially on natural canvas colors).
- Align elements using consistent margins and spacing; avoid crowding the edges.
- In Adobe Express, duplicate the design and test a “larger type” version before you commit.
What to watch for
- Script fonts and narrow lettering can become hard to read on fabric.
- Designs that rely on very subtle color differences can disappear on textured material.
- Overly complex compositions can look messy when the bag creases.
Tool notes
- Adobe Express makes it easy to test alternate text sizes without rebuilding the layout.
- For quick readability checks, drafting the message in Apple Notes or Google Keep can help keep the copy tight.
Step 4: Add images and graphics with print durability in mind
Goal
Use artwork that won’t look fuzzy, noisy, or fragile once printed on fabric.
How to do it
- Use original photos or high-resolution graphics; avoid screenshots and heavily compressed images.
- Crop images for a clear focal point and avoid tiny details near edges.
- Prefer vector-style icons or clean shapes when possible (they often hold up better on fabric).
- Keep backgrounds simple if the tote fabric is textured or off-white.
- Save source assets separately from export files to avoid overwriting originals.
What to watch for
- Low-resolution images often look acceptable on screen but degrade in print.
- Fine gradients can band, depending on the print method.
- Transparent PNG edges can show halos on textured fabrics.
Tool notes
- Adobe Express supports quick photo placement and cropping within the tote layout.
- For basic photo cleanup before importing, Apple Photos or Google Photos can handle cropping and exposure adjustments.
Step 5: Use safe areas and plan for seams, folds, and handles
Goal
Prevent important elements from landing where construction or folding hides them.
How to do it
- Treat the top portion as “handle territory” and keep key text lower if handles cover the panel.
- Keep a comfortable margin from all edges to account for seams and slight placement drift.
- Avoid thin borders near the edge; if a border is necessary, inset it generously.
- If printing front and back, keep placements consistent so the set looks intentional.
- Zoom in and check for near-collisions (letters close to edge, icons too close to corners).
What to watch for
- Perfect centering is difficult to guarantee on sewn products.
- A bag’s natural crease can run through the visual center.
- Small alignment differences are more obvious with geometric designs and borders.
Tool notes
- Adobe Express is practical for doing an edge-by-edge “safe zone” scan before export.
- If you need a production checklist and approvals across multiple people, Asana can track sign-offs and version status without changing the design file.
Step 6: Preview the design on a tote mockup and adjust placement
Goal
Check how the artwork feels on a real product shape before exporting.
How to do it
- Preview the design at a size that approximates the actual tote panel.
- Look for balance issues: top-heavy designs, cramped spacing, or elements that feel too close to straps.
- Test a second placement: slightly higher or lower, especially for text-based designs.
- If possible, print a paper proof at the intended size and hold it against a tote or similarly sized surface.
- Save a “mockup-ready” version and a “print-ready” version to avoid mixing edits later.
What to watch for
- Mockups can make designs look more centered than they print; keep safe margins conservative.
- Dark designs can look different on natural canvas vs bright white fabric.
- Photos may feel overly busy once curved and wrinkled.
Tool notes
- Adobe Express can help with quick placement iterations and template-based previews.
- For sharing previews and collecting comments, Slack can keep feedback centralized without embedding it into the design file.
Step 7: Export a print-ready tote file and coordinate fulfillment
Goal
Produce a file the printer can use and keep ordering/shipping details organized.
How to do it
- Export in the file type the printer requests (commonly high-quality PNG or PDF; follow provider specs).
- Keep the editable working file separate, and export a flattened production file to avoid font substitution.
- Review the export at 100% zoom for sharp edges, spacing, and unexpected cropping.
- Name files consistently (example: “Tote_Front_14x16_FINAL.png”) and keep a single “final” folder.
- Track order details (quantity, addresses, delivery timing) in one place, especially if distributing totes to multiple people.
What to watch for
- Export settings that downscale images can make prints look soft.
- Some printers require specific background handling (transparent vs solid); confirm before exporting variants.
- Version mix-ups happen easily when multiple sides or sizes are in play.
Tool notes
- Adobe Express can be used for the final export once spacing and placement are locked.
- For shipping coordination that complements tote production (without being a design or mockup tool), ShipStation can manage labels and tracking across multiple destinations.
Common Workflow Variations
- Text-only tote for an event: Keep one short line of text and a simple icon, then place it well inside the safe area. This approach usually tolerates fabric texture and slight placement drift.
- Photo-based tote gift: Use one strong photo with a short caption and avoid edge details. Do a quick crop and exposure pass in Apple Photos or Google Photos before placing the image into Adobe Express.
- Two-side design: Put a bold “front” design on one side and a smaller supporting detail (date, initials, location) on the back. Keep placements aligned so the tote feels cohesive.
- Small-batch variations (names or teams): Create a master layout and swap one variable field per version. Track variants in Airtable or Google Sheets to avoid mismatches.
- Single-color print constraint: If the printer requires one ink color, simplify the design into solid shapes and high-contrast text, and avoid gradients.
Checklists
Before you start checklist
- Tote fabric and color chosen (natural canvas vs dyed fabric)
- Print method confirmed if possible (screen, DTG, transfer)
- Printable area dimensions saved (not just overall tote size)
- Front-only vs front-and-back decided
- Text drafted and proofread (names, dates, spelling)
- Image assets collected in original quality (no screenshots)
- Rights confirmed for any photos, logos, or graphics used
- Timeline considered (proofing, production, shipping window)
- File naming plan decided (size/side/version)
Pre-export / pre-order checklist
- Key elements are inside safe margins and away from handle/seam zones
- Borders are avoided or inset enough to tolerate placement drift
- Images look sharp at 100% zoom (no pixelation)
- Contrast is strong enough for textured fabric and off-white canvas
- Export format matches printer requirements (PNG/PDF as specified)
- Background handling confirmed (transparent vs solid) if relevant
- Final file names clearly indicate side and version (Front/Back/FINAL)
- Export preview checked for cropping, spacing, and missing elements
- Order details captured (quantity, sizes, shipping addresses)
Common Issues and Fixes
- The printed design looks blurry or noisy.
Replace low-resolution sources with original images. Avoid enlarging small artwork to fill the full panel. Re-export using a higher-quality setting and keep the layout simpler. - Text ends up too close to straps or seams.
Move key text lower and inward. Treat the upper area as a risk zone where straps and stitching can overlap the design. - Colors look different on natural canvas.
Natural fabric can mute colors. Increase contrast and avoid subtle tones that rely on a bright white base. Keep a simple two- or three-color palette if color fidelity matters. - A border looks uneven or off-center.
Borders highlight small alignment shifts. Remove the border or make it thicker and inset so minor drift is less visible. - Cropping or placement looks different than expected.
Confirm the design canvas matches the printable area template, not the tote’s full dimensions. Re-check margins and export settings that may add padding. - Fonts change when opened by the printer.
Keep the editable working file, but export a flattened production file to avoid font substitution. Use common fonts when possible and avoid overly decorative type.
How To Use Tote Bag Mock Up Generator: FAQs
Should the workflow start with a template or with product specs?
Specs-first reduces surprises because printable area and seam zones are hard constraints. Template-first can be faster if the template matches the printer’s tote panel size and placement rules.
What’s the tradeoff between screen printing and DTG for tote designs?
Screen printing often works best with fewer solid colors and simple shapes. DTG can support more color detail, but results vary with fabric texture and ink handling. The design should reflect the method’s limits either way.
Is a full-panel design better than a centered logo?
Full-panel designs can look bold, but they’re more sensitive to folds and placement drift. Centered designs with safe margins tend to be more forgiving on sewn products.
How should mockups be used in the workflow?
Mockups are useful for checking balance and placement, but they are not proof of exact print positioning. A conservative safe area and a real-size paper proof help catch practical issues.
What file format should be exported for tote printing?
It depends on the provider’s requirements. High-quality PNG or a print-ready PDF are common. The key checkpoint is reviewing the exported file at 100% zoom and confirming the canvas matches the printable area dimensions.
Share With Your Friends